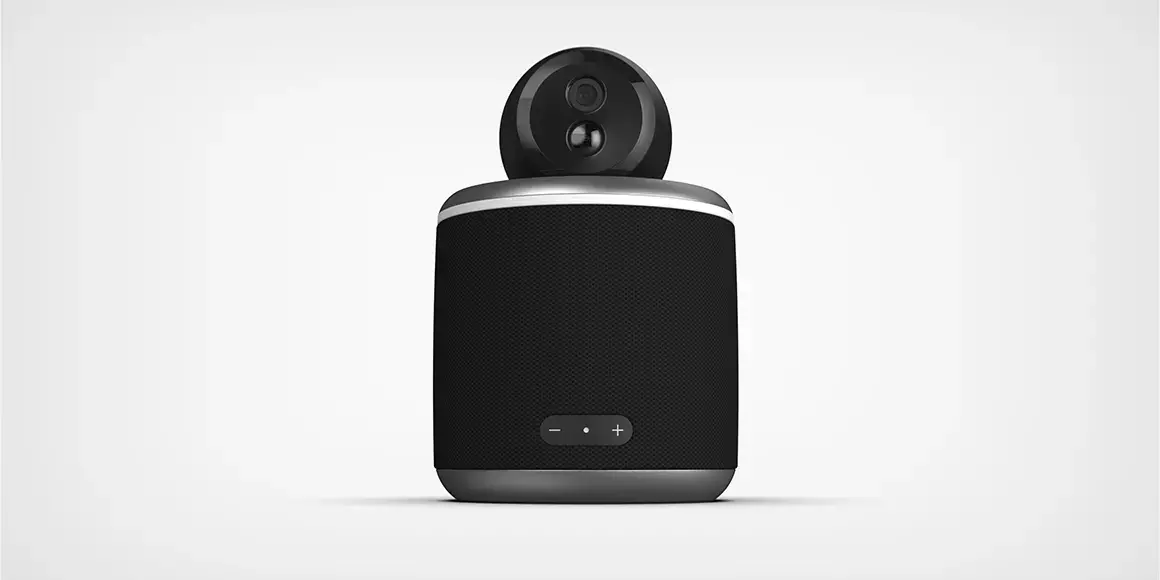
The process begins with either a brief of a project’s scope or a client's need for us to help prepare one. Either way our first steps are brainstorming and extensive interviews which help us gather as much data as we need to judge the scope of our work and to prepare cost and timeline estimates.
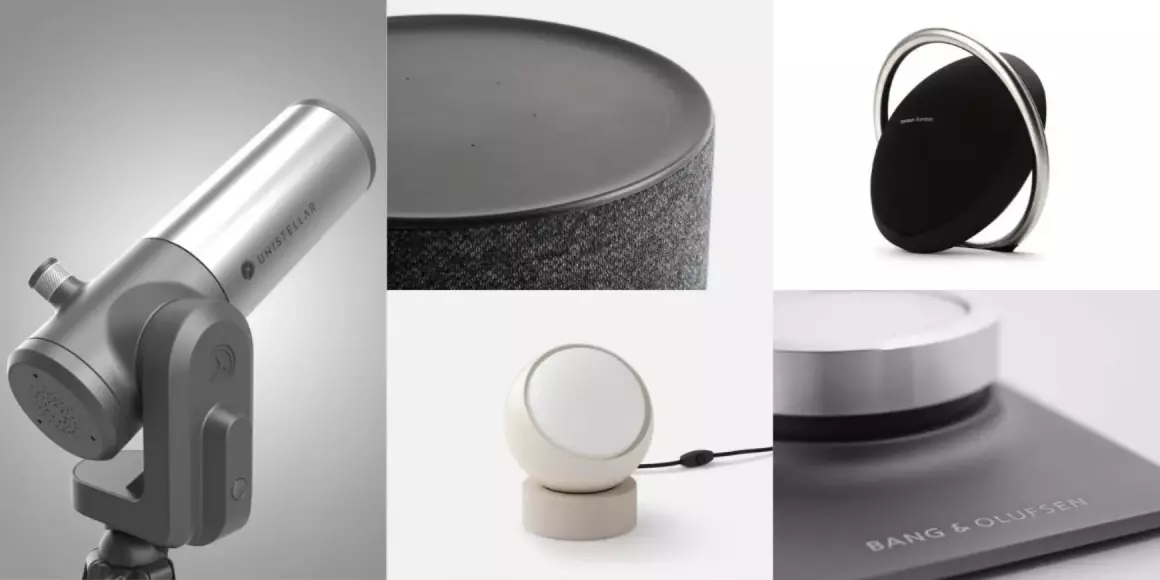
TASKS:
- KICKOFF meeting/workshops.
- Collecting information/materials about the project (references, CAD files, inspiration).
- Asking our partner for a set of mood boards.
- Determining the functionality of the product in relation to the end user.
- Determining the expected technology readiness level (TRL).
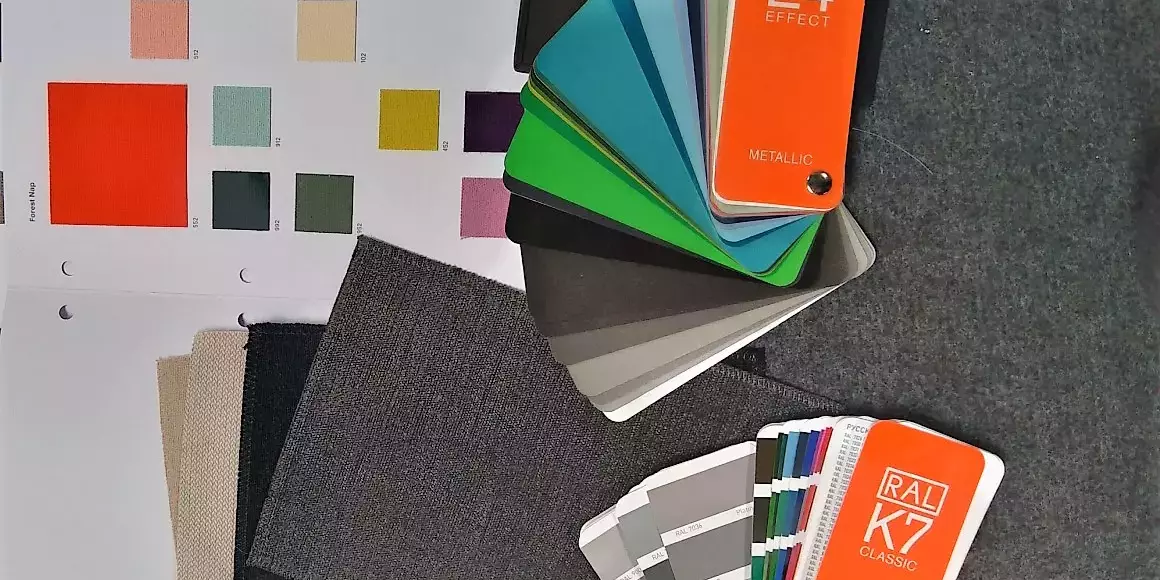
- Determining the desired product aesthetics.
- Confirming the project assumptions vs the initial assumptions (project specification).
- Initial market research & competition analysis (8-40h).
End Result: a comprehensible project brief for our designers.
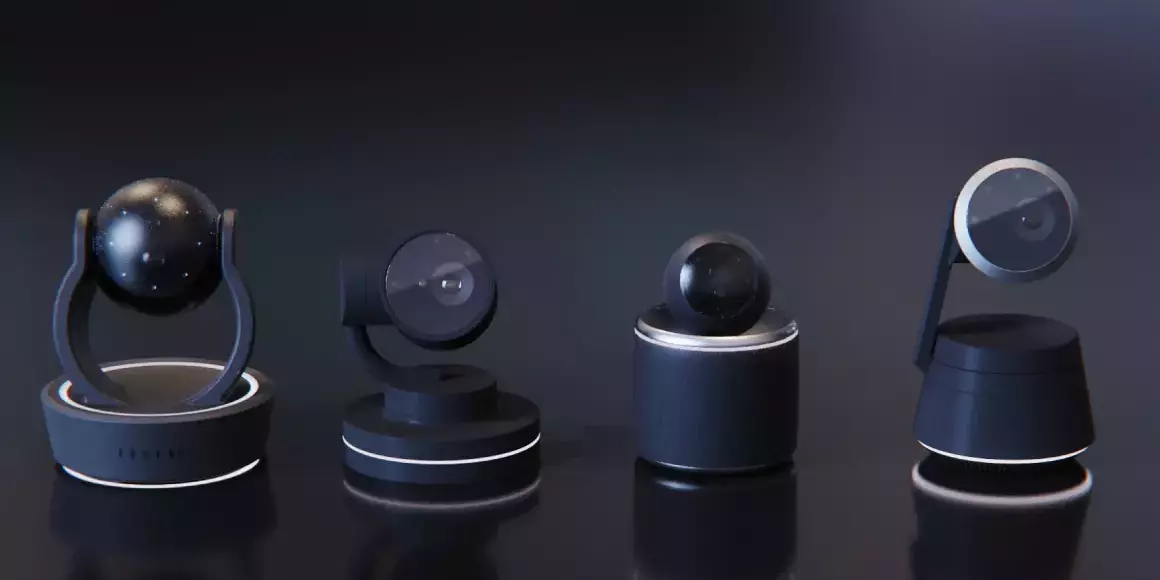
TASKS:
- Analysis of existing products, technologies & mechanical challenges.
- Designers are seeking additional information.
- Searching for correct shapes through sketches, 3D models, foam, clay models etc.
- Selecting the most promising concepts for further work.
- The project manager creates a check-list with needed product functions.
- Initial assumption concerning production technology.
- Modelling visual concepts in Solidworks.
- Optional - prototyping (verifying size factor, texture, non-mechanical assumptions etc).
Preparation for the presentation:
- Discussing final concepts with the project manager.
- Preparing scenes and model textures for rendering.
- Rendering photorealistic graphics for presentation purposes.
- Initial description of individual parts and production methods.
- Preparing dimensional drawings of the concepts.
- Dimensional drawings.
End result: 3-4 product concepts in presentation format.
TASKS:
- Conference call.
- Partner's email confirming selected concept for further development.
- Partner's email confirming aesthetical feedback (if any).
- Conforming the list of aesthetical changes by the project manager.
- Preparing revision time estimation.
- Revising the selected concept based on customer feedback (close email contact).
- Conference call going over the revised changes.
- Number of revisions: 2
- Optional - prototyping (verifying size factor, texture, non-mechanical assumptions etc).
End result: final product visualisations of the selected concept in presentation format:
- transfer of ownership rights
- high resolution renders
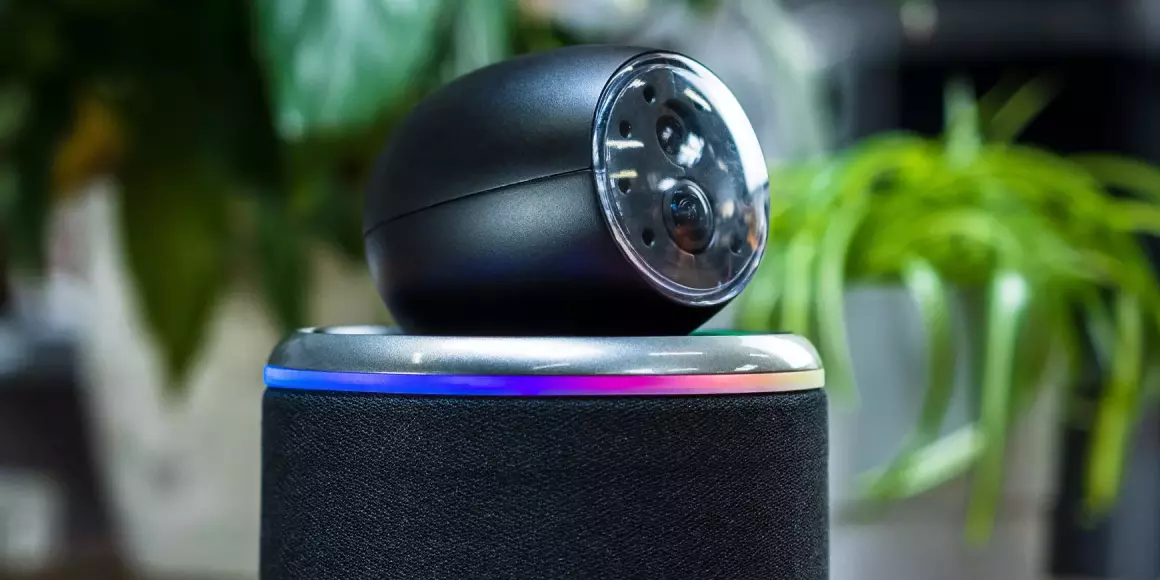
TASKS:
- Meeting with the partner: explaining & defining the required steps needed in this phase.
- Creating a list of tasks involving mechanical parts, mechanisms, and other features to be created.
- Agreeing with the partner on the possible number of revisions.
- Determining partner’s manufacturing capabilities.
- Specifying time estimation needed for the first mechanical model.
- Confirming the list of tasks & time estimation with the partner.
- Confirming/determining the expected end result (3D model, flat documentation, prototype?).
- Identifying materials and components data sheets needed to create the first mechanical model.
Design & mechanical activities:
- Developing the first mechanical model.
- Research and technology consultancy.
- Testing and collecting feedback from the partner.
- Creating a list of changes to be made in version 2.
- Creating another mechanical model.
Testing and collecting feedback from the client. - Completing the agreed documentation.
Transferring materials to the partner.
End result: mechanically correct model in Solidworks + optional prototyping.
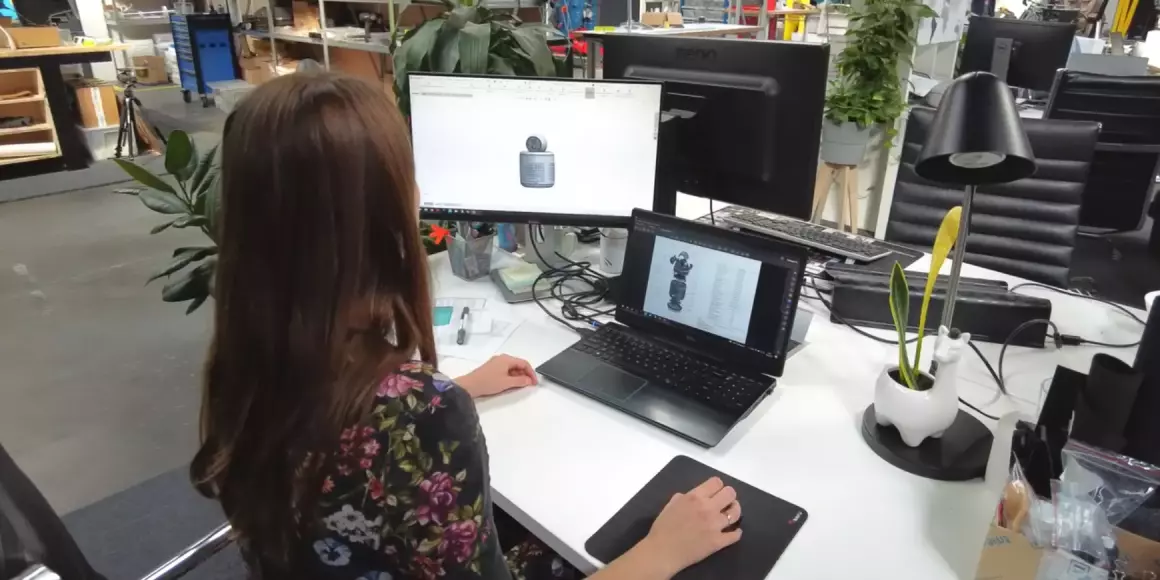
for manufacturing
TASKS:
- Meeting with the partner - initiating the phase.
- Agreeing with the partner on the list of tasks - manufacturing decisions of individual elements.
- Finding the most suited subcontracts for the project and consulting on the needed work.
- Adapting the project to the realities of manufacturing under the recommendations of the selected manufacturer.
- Creating a final material strategy adapted to the manufacturing method.
- Estimating production costs.
- Selecting the best manufacturing technology for individual components.
End result: selected manufacturing technologies & creation of BOM (bills of materials).
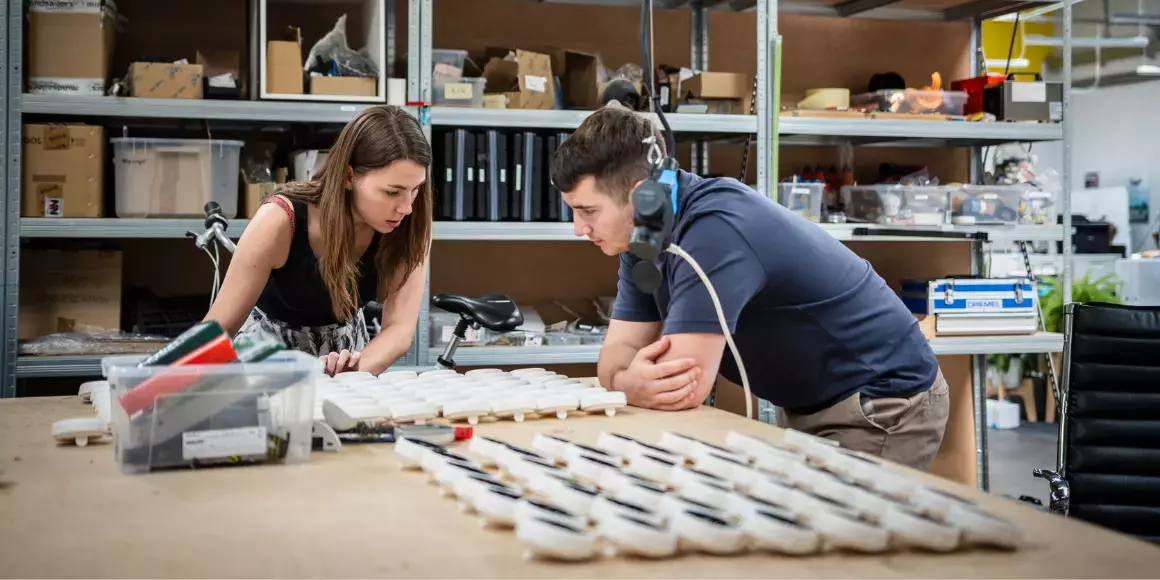
supervision
This phase progresses differently depending on the project - it requires further defining with the partner:
OPTION 1 - Production supervision or high volume prototyping:
- Selecting the most suited manufacturers for the project.
- Consulting with manufacturers/subcontractors.
- Overlooking the production on behalf of our partner.
OPTION 2 - High volume prototyping:
- Using the material strategy created at the DFM phase, the client's guidelines and the knowledge of our engineers, we create and propose a time estimate and production costing.
- Planning of production stages and material deliveries.
- Determining the form of the prototypes delivered at the end of the phase (semi-finished products, products before or after assembling).
- Confirming cost estimates with the client.
Meeting with the internal VC (vacuum casting) department - determining the materials, quantity and quality of needed master models. Additional Q + A meeting. - The project manager works closely with the VC department to support the logistics of materials & components.
- Supporting the VC department at the junction between production and design.
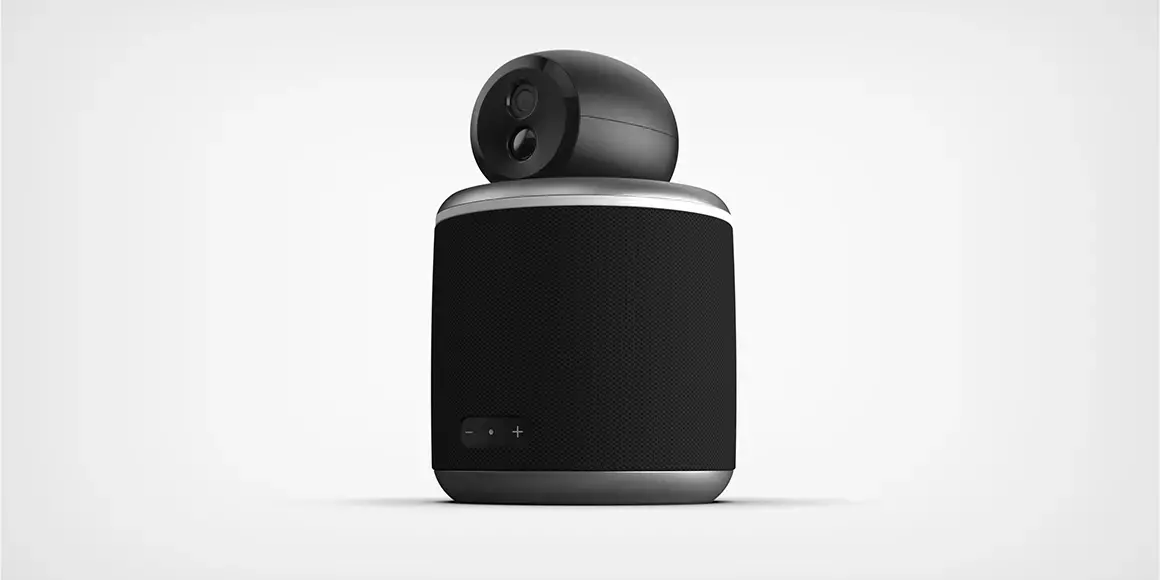
The final stage is a store shelf ready product. If a project makes it to this stage we often assist our clients with preparing iterations of the design for consecutive production batches.
works
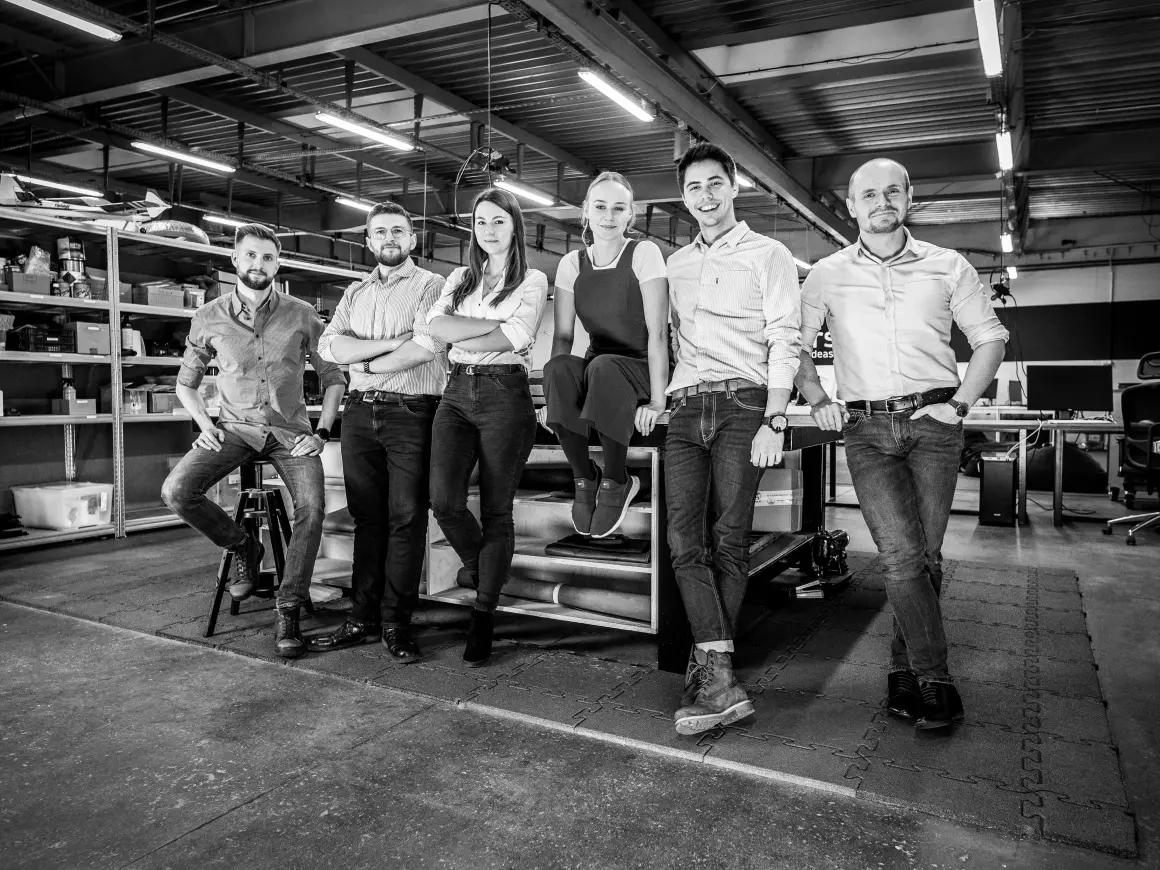
team
The Industrial Design team consists of several engineers with an artistic spirit and artists who could be engineers.
What is the industrial design process?
Most simply put, the product design process best known to all designers is a methodical approach to developing new products. It consists of a series of steps that designers must take in order to create products that are functional, aesthetically pleasing, and meet the needs of users. It is the basis for the Mindsailors’ Product Development Process.
Why do we use our own design process?
Years of working with clients around the world have taught us that product development challenges are often mirrored across industries. Most often, they revolve around communication and a common understanding of the design process itself, with all its stages. This is why we decided to organize the way we work both internally, within our teams, and externally, with the goal of maximizing clear communication.
This process has helped us numerous times in managing both ours and our clients’ expectations throughout the entire process of developing a new product and bringing it to market. The main goal for this product design process is to manage the flow of work and information in a way that keeps all stakeholders aware, informed, and without any doubts as to what, when, and to what end each stage is going to be worked out. It basically mirrors the saying that assumption is the worst way of communicating.
Between an idea and a shelf-ready product, the process consists of six stages.
- Pre-design
At this stage, we level the playing field by confirming and verifying all the project's requirements. We do project-specific research, design moodboards, and make sure each building block of the project's brief is clear and leaves no room for interpretation. By the end of this stage, we will have a highly detailed and comprehensive project plan. - Concept design
This stage is where we create the underlying concepts for the final concepts. We usually go through a dozen or more designs internally before deciding which three to present to you. When presenting the chosen designs, we also explain in detail why we concluded these designs are the best fit. By the end of this stage, you have picked one of the designs we are to go through with, adding your own comments on how the creative direction should be executed. - Targeted design
At this stage, our concept is designed in detail. Even though this is still a conceptual phase, we already work with an engineering approach. The models are created in SolidWorks with future DFM processes in mind (even if the scope of the project doesn’t include this stage). At the end of this stage, you get a documented exterior design with various visualizations of the concept. - Mechanical design
This is the stage of product prototyping. If the chosen design is to be manufactured, it needs to be translated into separate parts that are ready to perform their tasks and easy to assemble. This stage is for the construction engineers to put their experience to work and design the mechanical and structural details of the interior of the design, paired with an agreed-upon manufacturing technology. - Design for manufacturing
This step leaves you with what is called a golden sample. It is a version of the final product as close to the shelf version as possible without using means of mass production. We usually design and prototype it in cooperation with a target manufacturing facility. If, at this stage, you don’t yet know where you will manufacture your product, the prototype we deliver will let you take manufacturing to any facility in the world that operates in the chosen technology. - Manufacturing supervision
If you do not have experience working with manufacturing facilities, the last stage where we can assist you is to represent you in finding the right facility and work on your behalf on developing the necessary tooling and releasing the first batch for quality control.
To learn more on our industrial design process have a go at this episode of IDology - the industrial design podcast:
Schedule an initial talk and get to know us better! You already have a basic brief? Send it over so we can have a more productive first meeting!
a meeting


